Construction
Construction Phase Photos: What to Capture, Clearing to Closeout
Construction phase photos by drone, clearing to closeout. What to capture at each stage, why it matters later, and what is lost if you skip the flight.
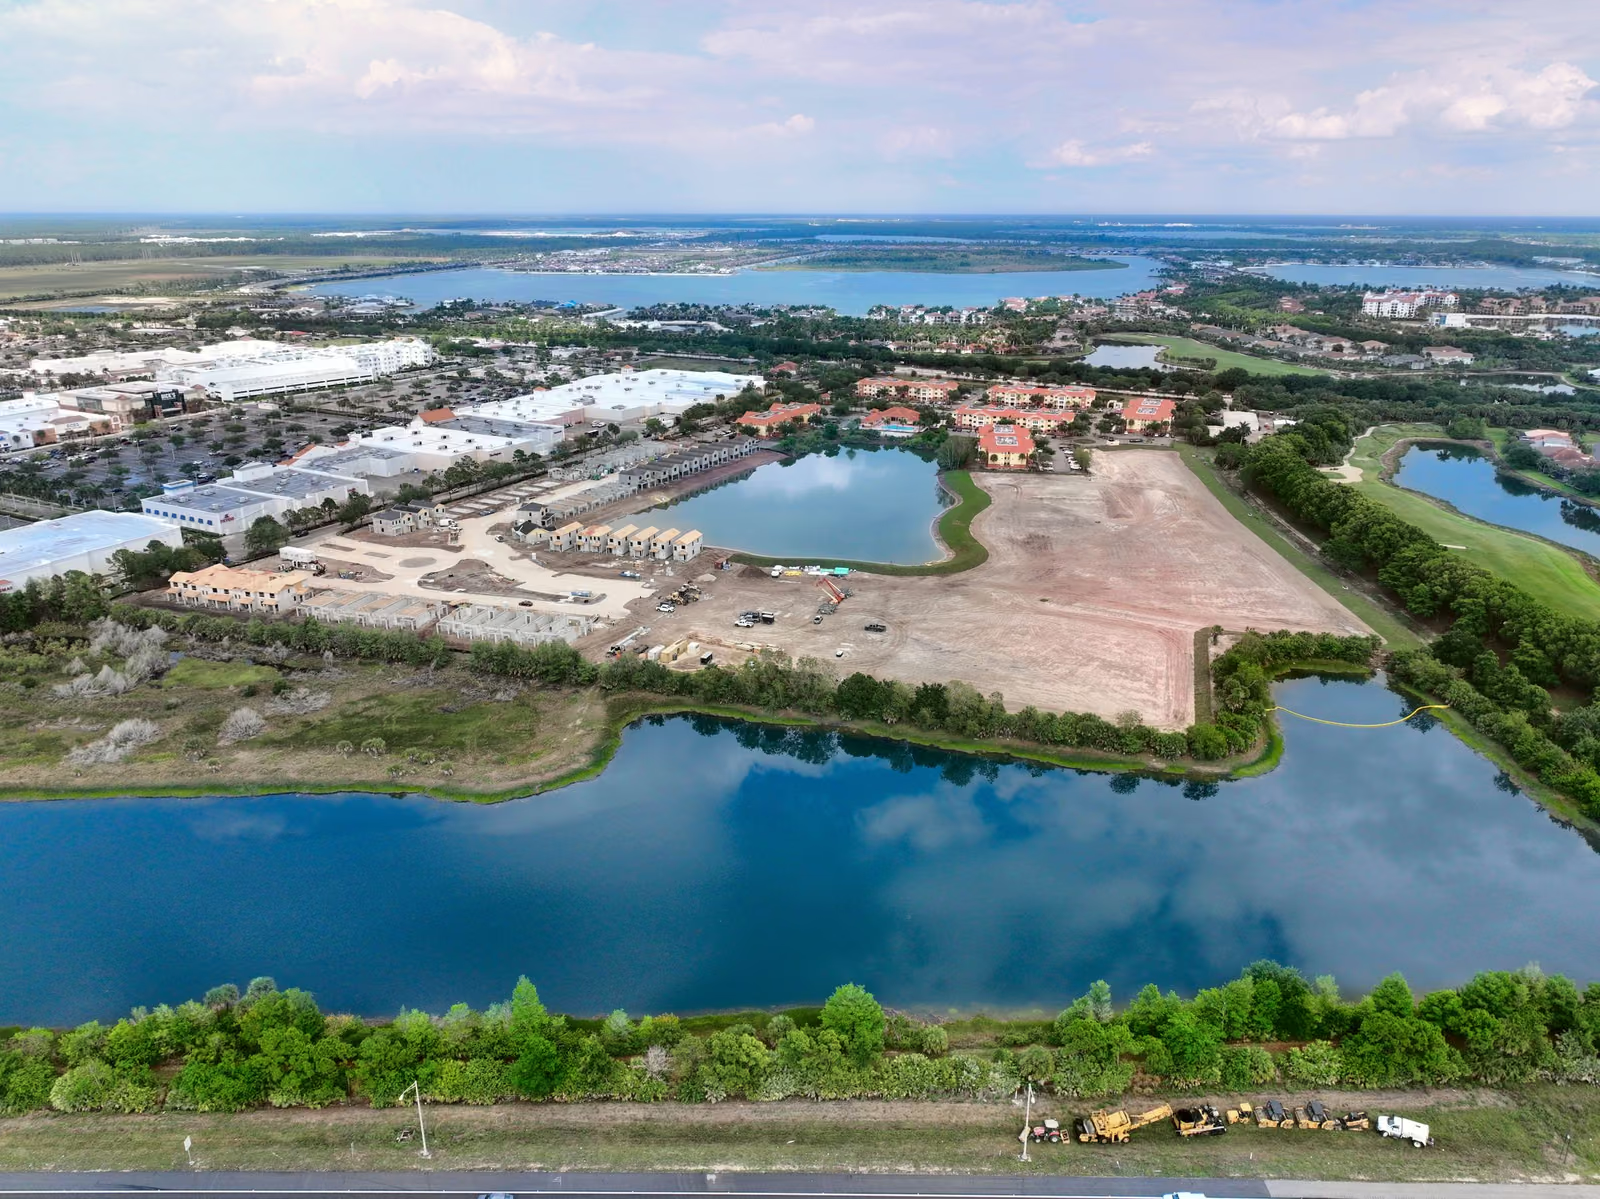
The most useful construction phase photos are the ones taken just before something gets covered: the cleared site before grading, utilities before backfill, foundations before the pour, framing before drywall and roof deck before roofing. Those are the shots nobody can retake. This post walks the phases of a build, what to capture at each, and what you lose for good if you skip that flight. For the full approach, see our guide to construction drone photography.
Key takeaways
- Fly before the work disappears: clearing, buried utilities, foundations, roof deck.
- Shoot from the same positions each time so any two flights line up.
- Each phase answers a different later question: boundaries, utilities, inspections, change orders, warranty.
- Progress documentation starts at $200 per flight, with rapid turnaround.
Why phases matter more than dates
Most owners think about a photo schedule as a calendar: every month, every other week. That works, but a build is not a calendar. It is a series of phases that each end by burying or covering the previous one. Sitework gets buried under foundations. Foundations get buried under framing. Framing gets buried under a roof and finishes.
So the better question is not “when do we fly?” but “what is about to disappear?” The old way is a superintendent with a phone, who photographs what is easy to reach on whatever day it occurs to someone. A drone record flies the same positions every time, dates every image, and shows the whole site in one frame, which is what an owner, lender or insurer needs when a question comes up a year later.
Phase 1: Clearing and sitework
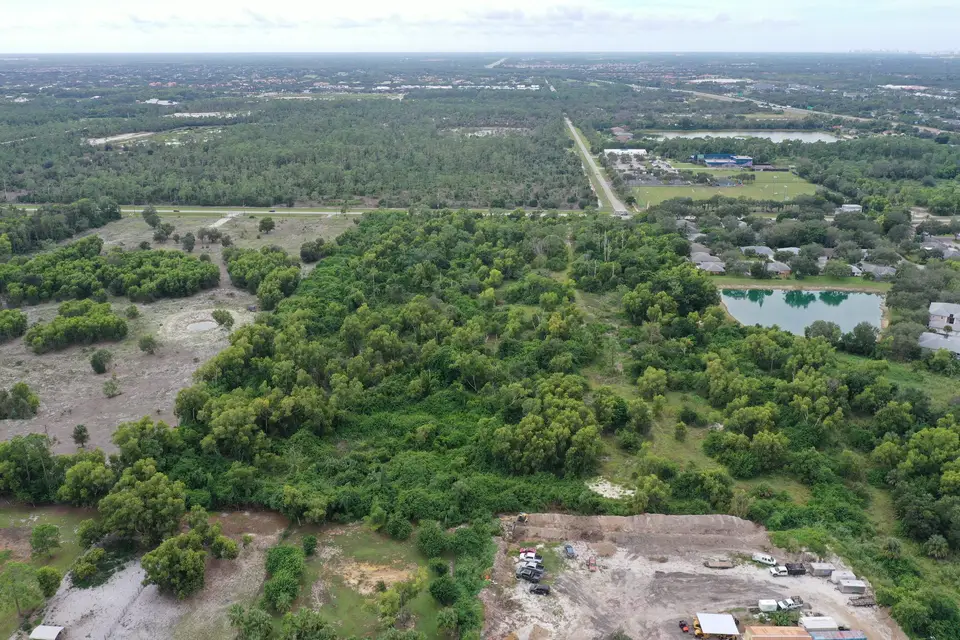
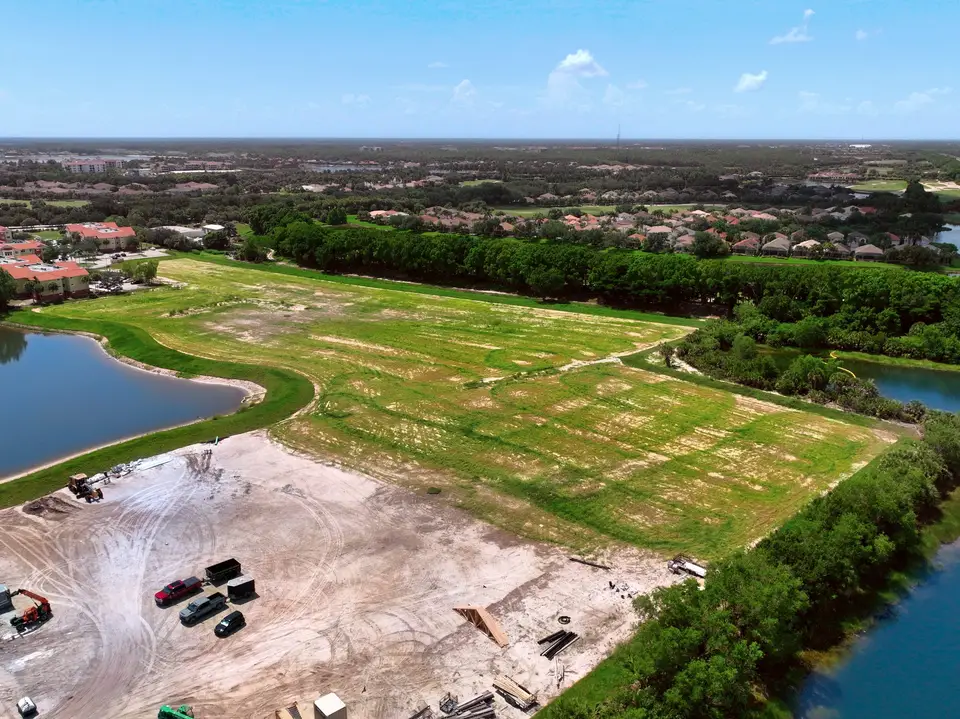
What to capture: the untouched site before the first tree comes down, then the cleared pad, haul roads, laydown areas, silt fence, stormwater ponds, and the edges where your site meets the neighbor’s.
Why it matters later: the first flight is the baseline for boundaries, tree counts, drainage and the condition of neighboring property. If a neighbor claims damage to their fence line or a drainage change flooded their lot, the first and second flights show what was there before you arrived.
What is lost if you skip it: the original grade, the original vegetation and the pre-existing condition of everything around you. You cannot photograph a forest after it has been cleared.
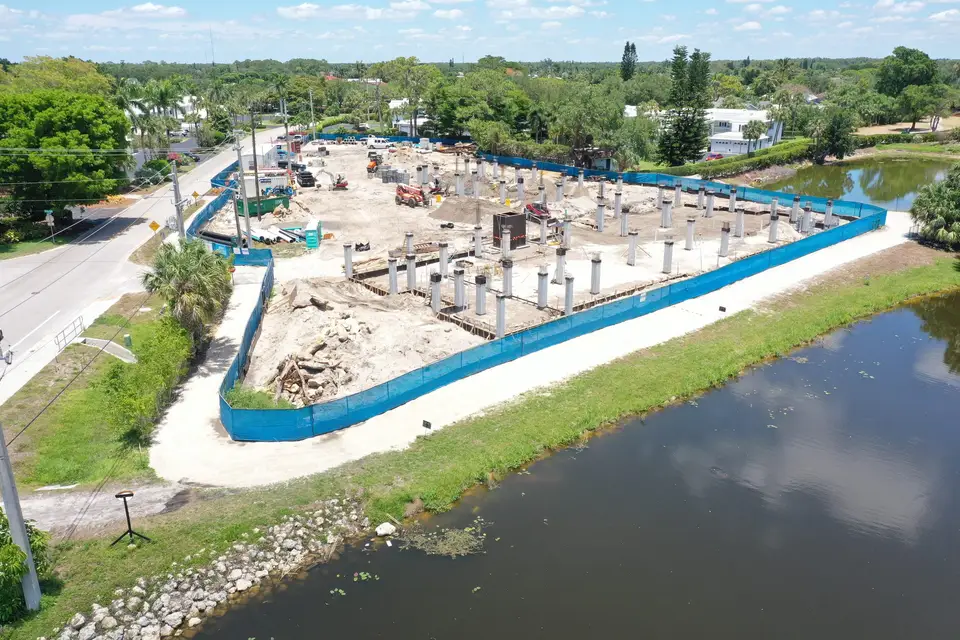
Phase 2: Underground and foundations
What to capture: open trenches with pipe and conduit runs visible, stub-ups, form work, rebar and footings, piles of material, and the site layout around them. Fly after the work is in and before backfill or the pour.
Why it matters later: buried work is the hardest to prove, because nobody can see it without digging. A dated frame of the open trench shows routing and depth relationships across the whole site, which helps when someone has to find a line, tie into it or settle who put it where. Pre-pour frames help answer questions about what was placed and when, and they back up the inspector’s sign-off with a picture of the overall site.
What is lost if you skip it: a photo of the open trench or the rebar. After backfill and concrete, the only way to see it again is to dig or core.
Phase 3: Vertical structure
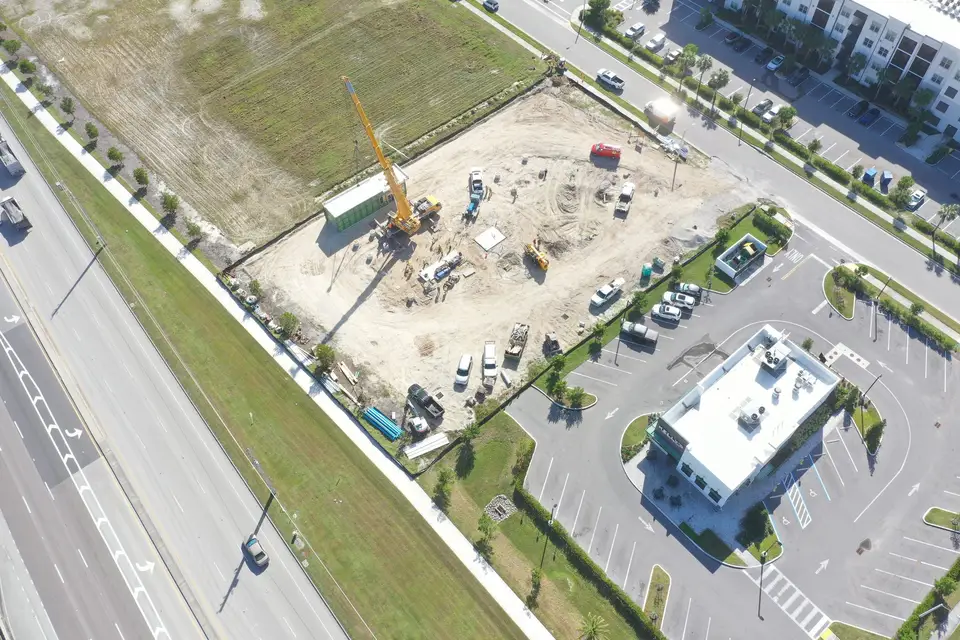
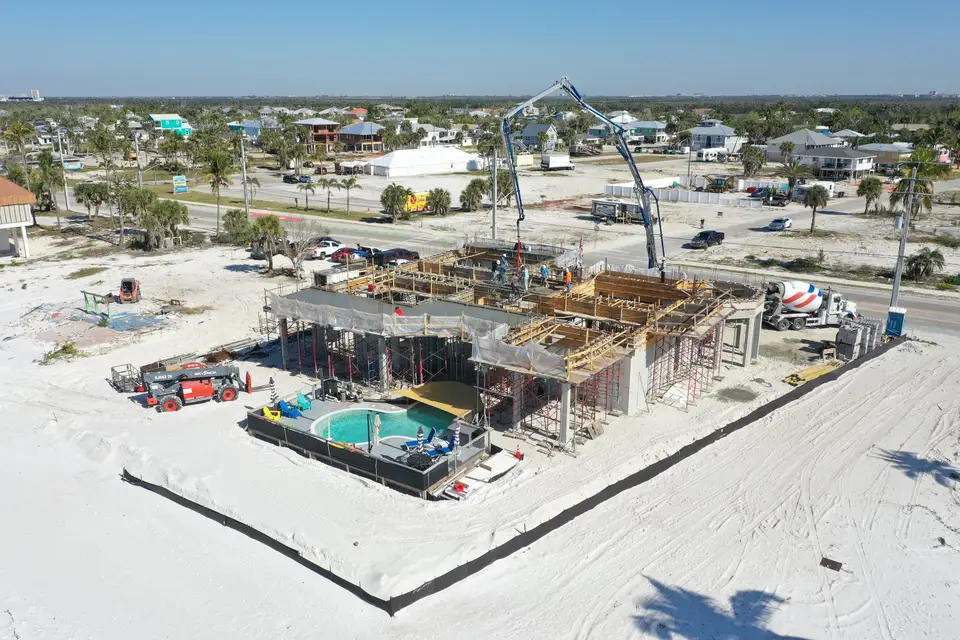
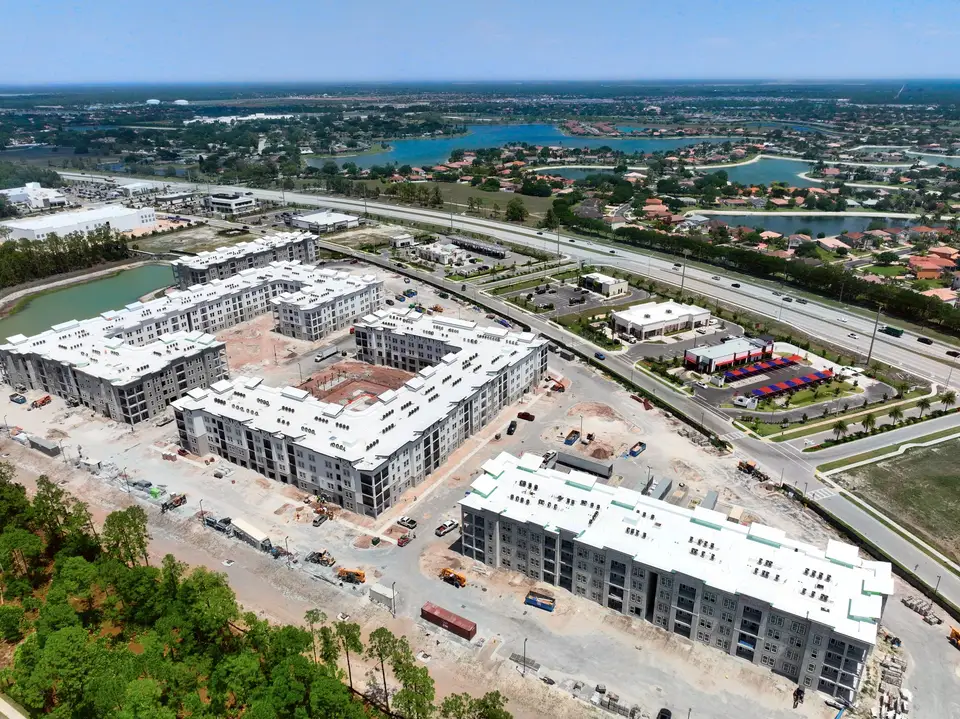
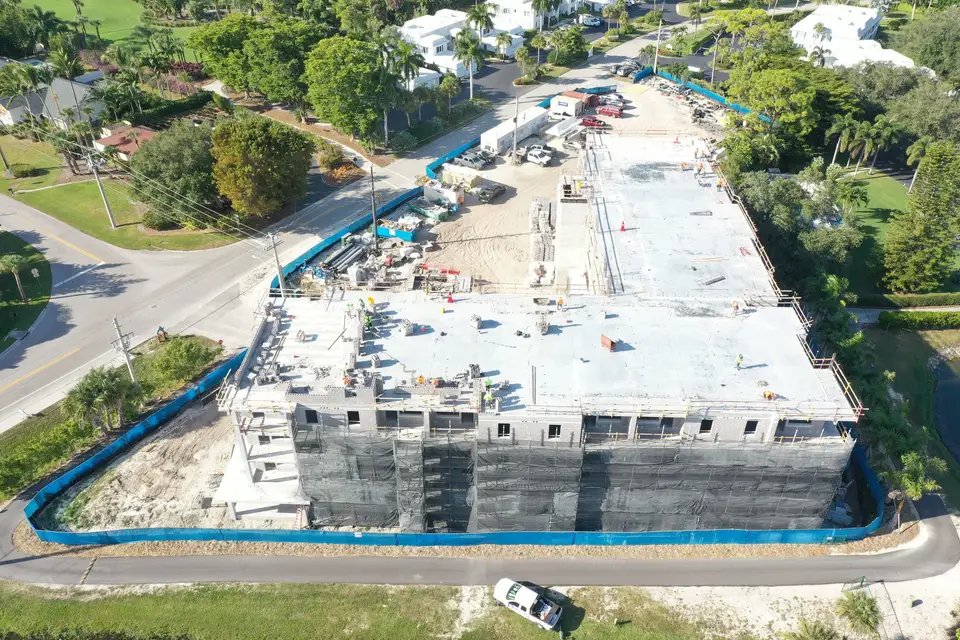
What to capture: concrete pours with the pump and formwork in place, each deck or floor as it tops out, framing on every building, and crane positions and access routes around the site.
Why it matters later: vertical progress is what owners and lenders look at most, and it drives draw requests. When a trade claims they could not start because the previous floor was not ready, or an owner asks when a level was poured, a dated aerial settles it. On multi-building projects, one frame shows which buildings are ahead and which are behind, something a ground photo cannot do.
What is lost if you skip it: the sequence. Without frames from the weeks in between, a schedule dispute turns into memory against memory.
Phase 4: Dry-in and roofing
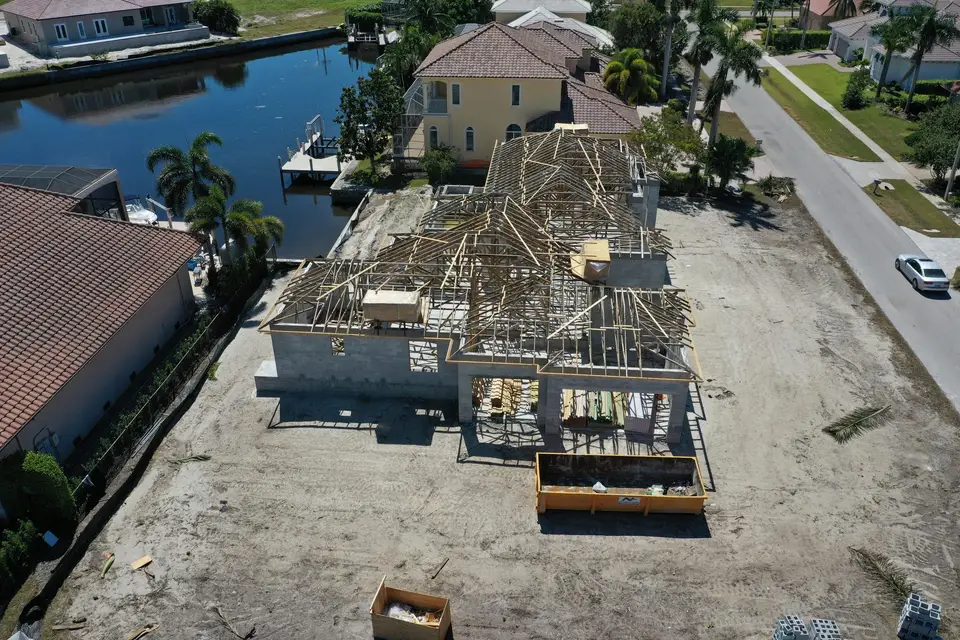
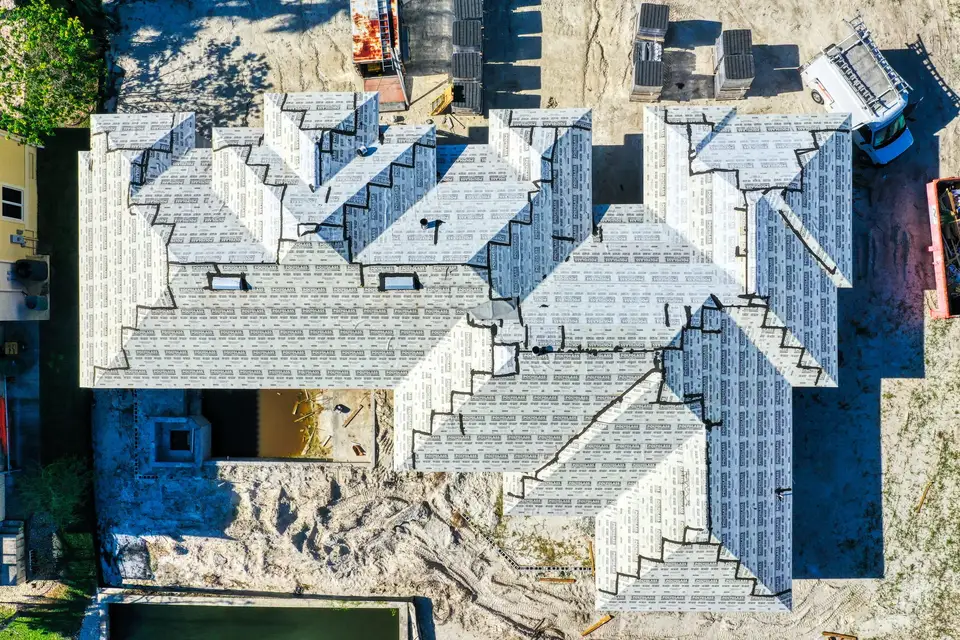
What to capture: trusses and roof framing, then the sheathing and underlayment, then the finished roof. Include top-down shots straight over the roof as well as angled views of each elevation.
Why it matters later: roofs are covered in stages, and warranty and insurance questions tend to show up years after the underlayment is hidden. A dated frame showing the roof deck and underlayment complete is a record of the condition of the roof system before the final material went on. It also marks the moment the building was dried in, which matters for interior schedules and for any water damage question afterward.
What is lost if you skip it: a view of the layers. Once the final roof covering is down, the underlayment is not visible without removing roofing.
Phase 5: Closeout
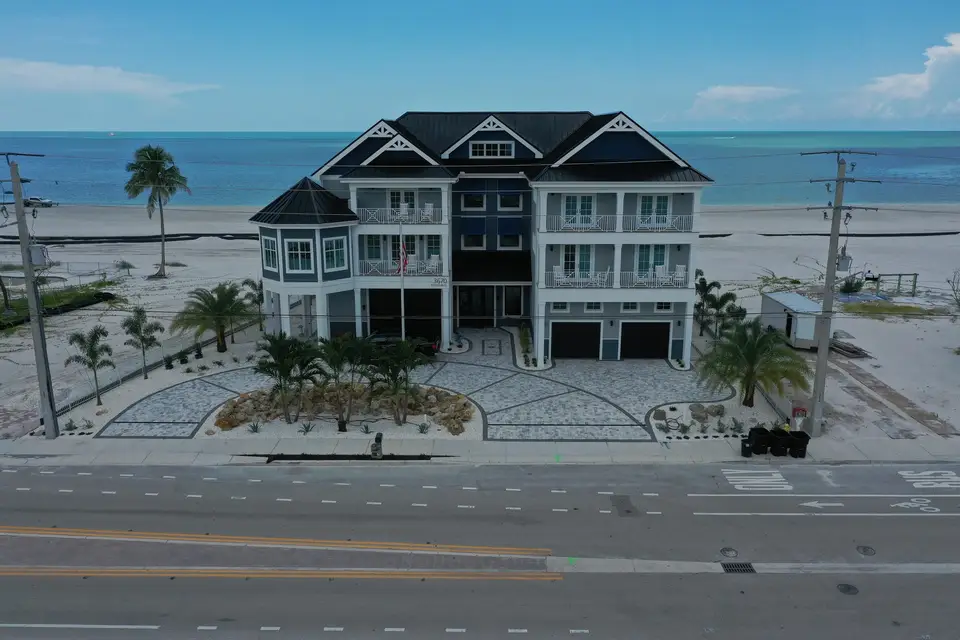
What to capture: the finished structure from every elevation, the full site with landscaping, parking, drainage and access, and the roof in its final condition. For a concrete structure, the topped-out deck and the site around it.
Why it matters later: closeout photos are the starting condition for warranty. If a roof leaks in year two or a drainage swale fails in year three, the as-completed record shows what was built and what shape it was in on day one. They are also the base for marketing material and a ready baseline for future roof inspections.
What is lost if you skip it: the agreed starting point. Without it, every warranty conversation begins with an argument about what the building looked like at turnover.
Construction phase photos at a glance
| Phase | Capture | What it answers later |
|---|---|---|
| Clearing and sitework | Untouched site, cleared pad, haul roads, edges | Boundary, drainage and neighbor condition |
| Underground and foundations | Open trenches, forms, rebar, footings | Buried utilities, what was placed and when |
| Vertical structure | Each pour, deck and framed building | Draw requests, schedule and change orders |
| Dry-in and roofing | Trusses, sheathing, underlayment, final roof | Warranty and water damage questions |
| Closeout | Every elevation, full site, final roof | Starting condition for warranty |
Before you book the flights
The nuance most plans miss
The common mistake is to set a calendar and ignore the milestones. A monthly flight that lands the day after a pour has missed the pour. The better plan has a rhythm for routine progress and a short list of milestone flights tied to the covered-work events above. Our post on how often to photograph a construction site builds that schedule by project type.
The second miss is who reads the record. Owners and lenders do not want forty photos. They want the same angles as last month, dated, in one place. See what owners want in a progress report. If you are choosing between plain photos and an online view you can compare and measure in, progress photos vs the Viewer covers it. For storm risk on an open site, read pre-hurricane documentation.
Every flight is flown by a licensed Part 107 pilot, fully insured, with rapid turnaround, as fast as same day with rush. See progress documentation for what is included.
Which construction phase is most important to photograph?
Do I need a flight at every phase?
What should the first flight show?
Can drone photos replace the inspector or the engineer?
How much does a flight cost?
Start the record before ground breaks on your next project.
Request a quote